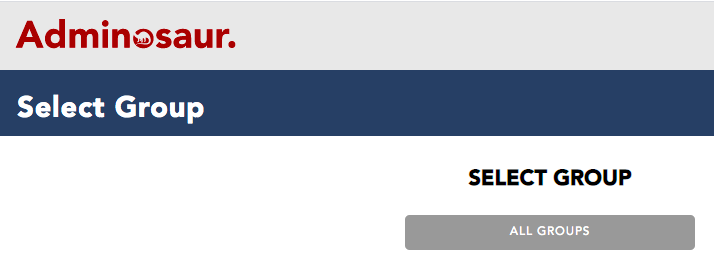
1. To check a child in to a group, you need to select the Groups tile on the Dashboard (you will need the ‘Groups – All Groups’, ‘Groups – Specific Groups’ or ‘Groups – Admin’ permission). This will take you to the ‘Select a Group’ page.


2. Select the group you want to check children in to. If it does not exist, contact an admin for help.
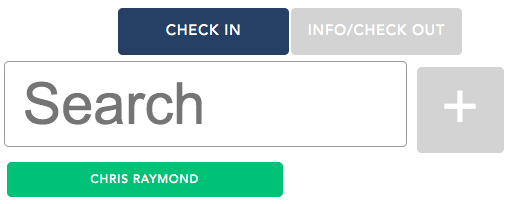
3. You will now see the Checkin page. Select the name of the child from the list, or type the name of the person you want to check-in to the search bar. Select their name in the list.

If you have the ‘Parent Prompt’ selected for this group, you will also need to select the parent of the child who is checking in the child.

If the child is new, select the ‘+’ button and fill out the form.

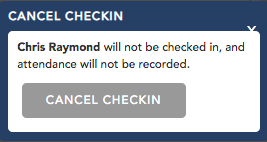
4. To cancel a check-in, select the name of the child in question (will be highlighted green) and select ‘cancel checkin’ in the pop-up.


5. To mark attendance, you will also need to check-out the child. Do this by selecting the ‘Info/Check Out’ tab in the page, and then selecting the check-out button next to the child you want to check out.

