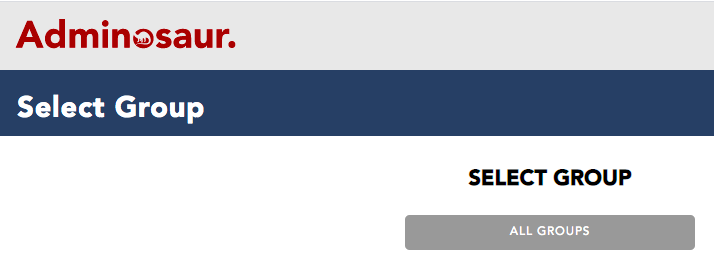
If you are in a group checkin page, you will be able to change what group you currently have active by clicking the name of the group at the top of the page.
It will show a drop down menu of the groups you have permission to see. Select the one you would like and it will take you to the selected groups checkin page.
1. To check a child in to a group, you need to select the Groups tile on the Dashboard (you will need the ‘Groups – All Groups’, ‘Groups – Specific Groups’ or ‘Groups – Admin’ permission). This will take you to the ‘Select a Group’ page.
2. Select the group you want to check children in to. If it does not exist, contact an admin for help.
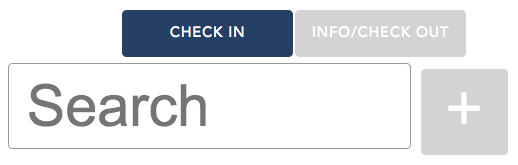
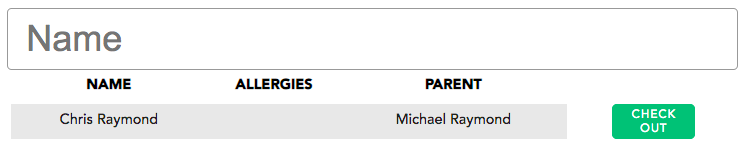
3. You will now see the Checkin page. Select the name of the child from the list, or type the name of the person you want to check-in to the search bar. Select their name in the list.
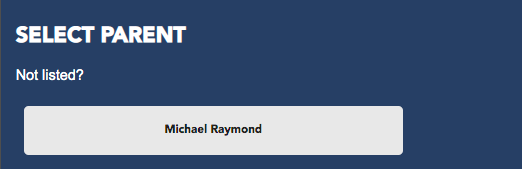
If you have the ‘Parent Prompt’ selected for this group, you will also need to select the parent of the child who is checking in the child.
If the child is new, select the ‘+’ button and fill out the form.
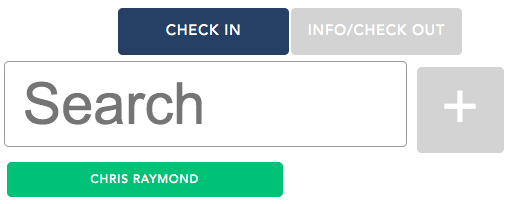
4. To cancel a check-in, select the name of the child in question (will be highlighted green) and select ‘cancel checkin’ in the pop-up.
5. To mark attendance, you will also need to check-out the child. Do this by selecting the ‘Info/Check Out’ tab in the page, and then selecting the check-out button next to the child you want to check out.
This page shows you your subscription and billing details.
Active Until – This is the date you will next be billed for your subscription.
Delete Subscription – This allows you to delete your account. All your information will be removed from the Adminosaur system.
Update Subscription – This button ‘Saves’ the subscription details outlined above the button. If you would like to make changes to your subscription, select the new plans in the drop down’s above, then press this button.
Update Payment – This button allows you to update the card used for billing purposes.
You need to have the Groups ‘Admin’ permission to access this section. You will also need to have already conducted a sync with Elvanto before you can use this page properly.
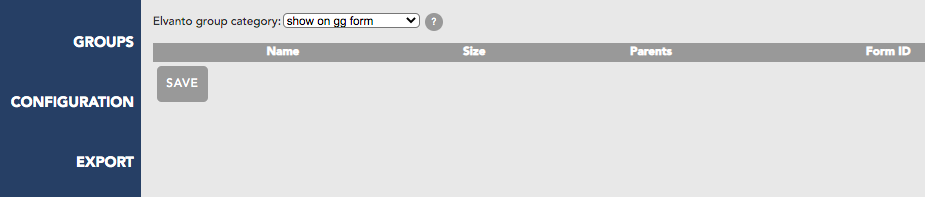
On this page you can set up the groups that appear in the Adminosaur system. The drop down allows you to select the Elvanto Group Category you would like to use. See Sync my groups from Elvanto.
You will be able to select whether you want the ‘Parent Prompt’ for each group. This prompt appears when you are checking in a child, prompting the user to select an adult who is delivering the child to the group.
You will also be able to insert the Form ID for each group, which allows new people to be added to each group. See Setup the ‘Add New Person’ Form.
Groups Settings can be accessed by clicking the gear icon in the top right of the blue ‘Groups’ tile on the Dashboard.
You need to have the Groups ‘Admin’ permission to access this section. You will also need to have already conducted a sync with Elvanto before you can use some of these settings.
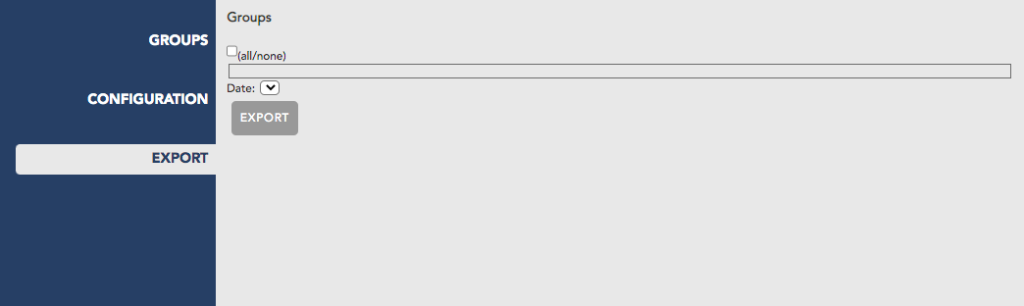
There are three tabs in group settings:
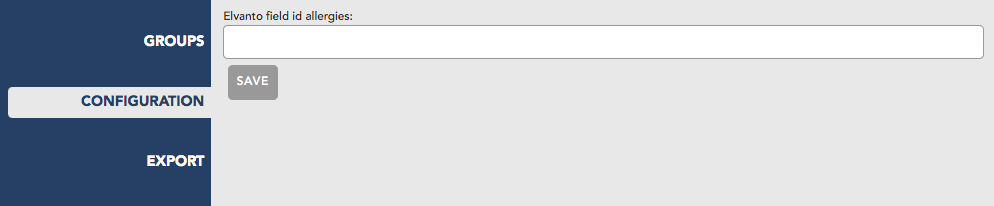
Groups allows you to configure the groups in your account. Configuration allows you to configure other settings for this module. Export allows you to export the checkin information.
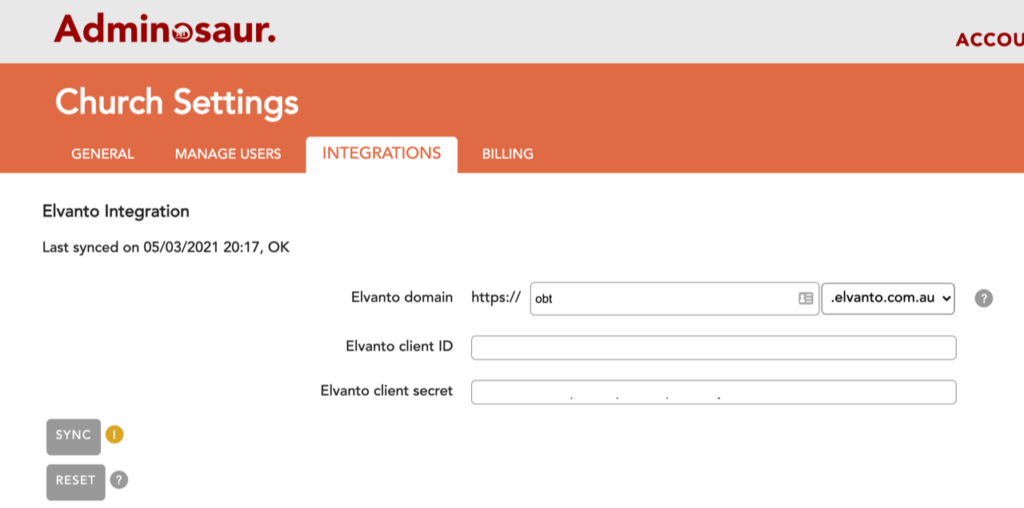
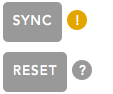
Once you have this integration set up, you will be able to press the SYNC button at any time and bring the Adminosaur system up to date with Elvanto.
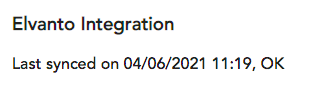
The last time an Elvanto sync was performed is shown, as well as whether your last sync attempt was OK or if the sync is Failing. A failing sync can be troubleshooted here
If you have issues syncing, there may be an issue with the user you initally set up the connection with. If this is the case, press the RESETbutton and the next time you try and sync, you will be prompted to log in to Elvanto again. Make sure you log in with a super admin account.
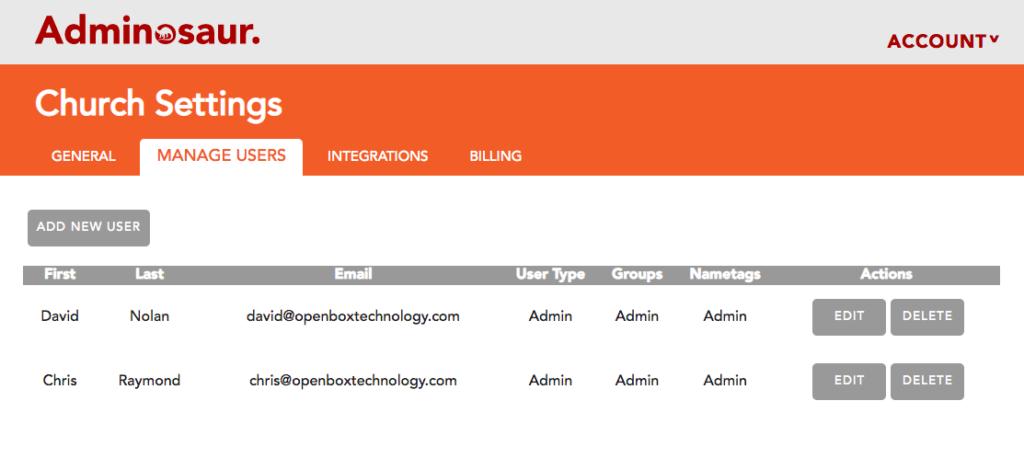
This page allows you to configure the users that have access to your Adminosaur account.
NOTE: You need to be a user in Adminosaur to log in to Adminosaur. Elvanto user accounts will not work in Adminosaur. Your Adminosaur username will be your email address.
Add New User – This button will prompt you to enter the name and email address of the new user to your account. On the ‘Permissions’ tab of this prompt, you will be able to edit what permissions the new user has. Please see below for information on what the different permissions mean.
Edit – This button allows you to edit the permissions of a user. Please see below for information on what the different permissions mean. You will not be able to edit the name or email address of a user.
Delete – This deletes the user from your account. However, it does not delete the users Adminosaur access (so they will still be able to log in – just won’t be able access your church system).
PERMISSIONS
User type: Admin – Has access to the church settings section (the orange ‘Church’ tile on the Dashboard) User – Has no access to the church settings section.
Groups: Admin – Has access to all groups, as well as Group Settings (the cog icon on the tile) All Groups – Has access to all groups, but not the Group Settings Specific Groups – Has access to only the groups specified in the table
Nametags: Admin – Has access to all services, as well as Nametag Settings (the cog icon on the tile) All Services – Has access to all services, but not the Nametag Settings
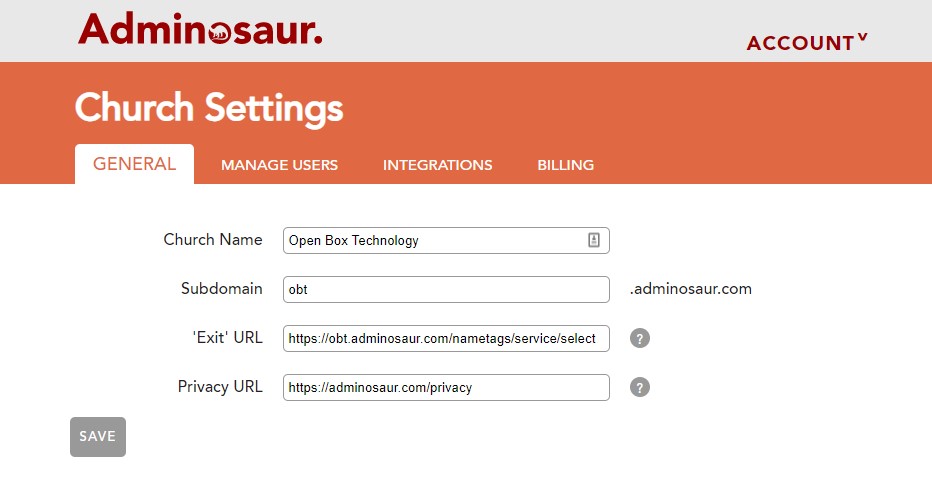
This page allows you to configure settings across your whole Adminosaur account.
Church Name – allows you to edit the name of your church in the system.
Subdomain – allows you to change the URL for your access to Adminosaur. The URL will be https://[yoursubdomain].adminosaur.com. The subdomain needs to be unique, so the system will not let you change your subdomain to something already taken.
‘Exit’ URL – Allows you to configure the web address linked when pressing the exit button. This button is only available on some pages. Leaving this blank will hide the exit button.
Privacy URL – Allows you to configure the web address linked when pressing the privacy button. This button is only available on some pages. The link should contain your churches privacy policy. Leaving this blank will hide the privacy button.
If changes are made to this page make sure to press the SAVE button to save these changes.