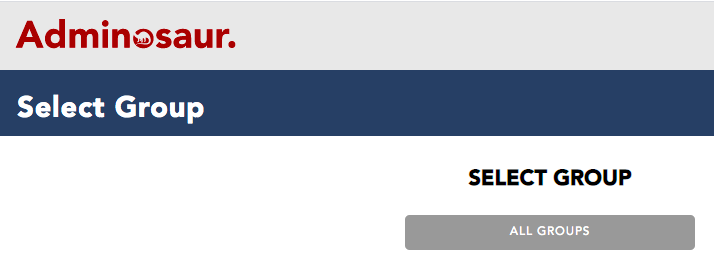
1. To see the the information of checked in group members, you need to select the Groups tile on the Dashboard (you will need the ‘Groups – All Groups’, ‘Groups – Specific Groups’ or ‘Groups – Admin’ permission). This will take you to the ‘Select a Group’ page.
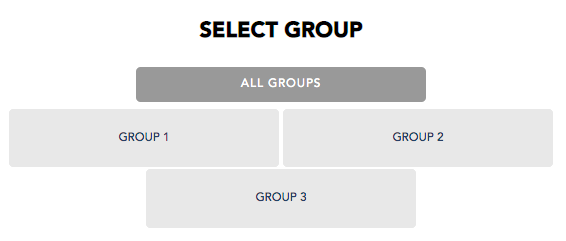
2. To see the information of group members checkin into specific groups, or all groups, click on the group you’d like to see or the all groups button.
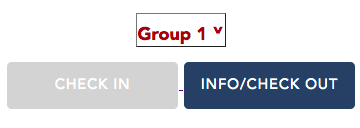
3. Click on the info/check out button
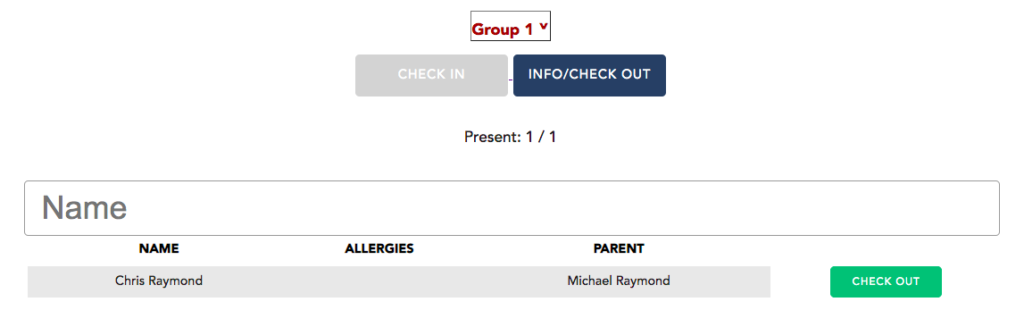
4. This will take you to a page listing all checked in children for a specific group, or all groups, their allergy listing, and a nominated parent (if the ‘Parental prompt’function has been activated). You can also see how many people are checked into the group.
From the page you can also check out a child by clicking the ‘check out’ button on the right hand side of the child’s details.
If you are experiencing issues with syncing your data from Elvanto, it could be one of the below issues:
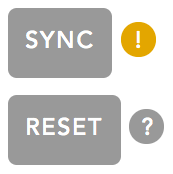
1. Reset your elvanto permissions. Press the ‘Reset‘ button on your integrations page then try syncing again (it will prompt you for your elvanto login – you must have super admin privileges in elvanto for it to work).
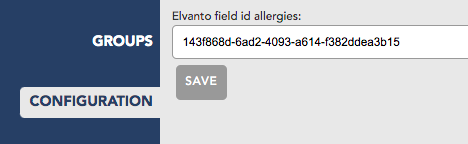
2. Check your Allergies field in Groups/Configuration. If the Allergies field has a typo or is incorrectly configured, the sync will fail. See this page for more info.
3.Q: My browser redirects to the Adminosaur Login page when I try and sync with Elvanto.
A1: We have had issues with some version of Safari, so if you are using Safari try using Google Chrome instead
A2: Double check the Homepage and Redirect URL fields in the integrations section of Elvanto, they need to be exact. Make sure the [SUBDOMAIN] is replaced with your Adminosaur subdomain.
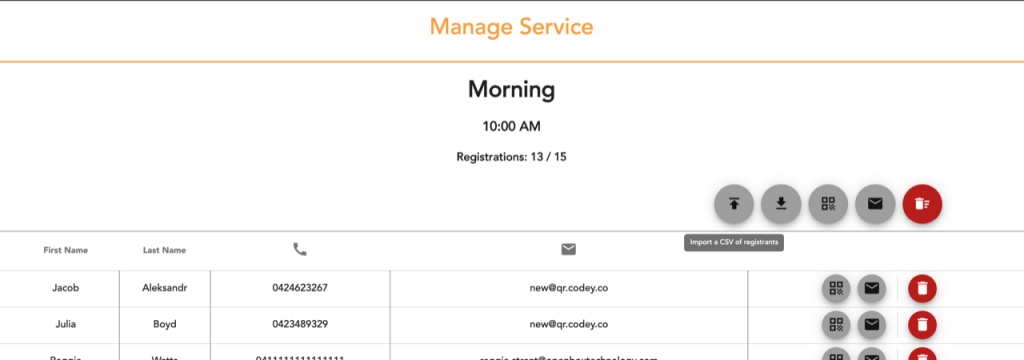
Open the csv import dialog on the Manage Registrants page by clicking the button.
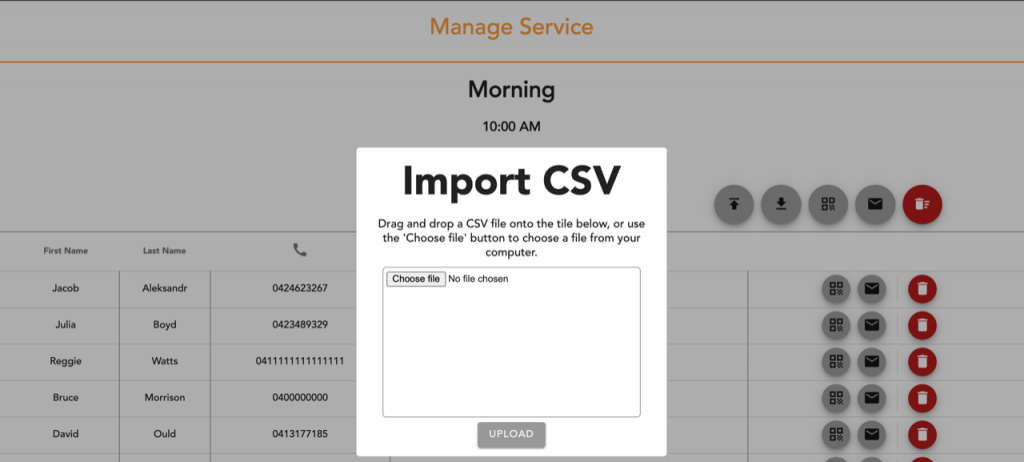
The button will open a dialog which allows you to drag-and-drop, or click to select a file to upload from your computer.
The dialog will only accept a CSV file, maximum size 3 MB. It will not accept normal Excel spreadsheets. If you are using Excel, choose Save As and select CSV as the file type (comma-separated values).
When the import occurs, registrants will be matched in the following ways:
If an existing registrant has the same first and last name, as well as EITHER the same contact number or same email, the new information will be applied on top of the old record. This means that you can update registrant details, as long as you only change one of the contact fields at a time.
If there is no match on the registrant’s name or at least one contact method, a new record will be created for that registrant.
Imported registrants will never have emails sent to them automatically. You can manually send emails by using the buttons on the manage service page.
It is worth noting that this import feature now allows you to clear the list every week and import from a manual list of records, if you would like to do that instead of using the registration form. The process for this would be:
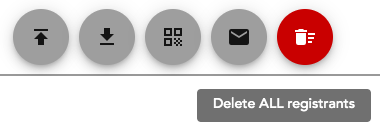
Delete all registrants using the delete button in the top bar.
Import people for this week’s service using the Import CSV dialog.
(Optional) Send registration emails to all registrants using the mail button in the top bar.
In the dialog you will find the CSV template for registrant information. You can also download the file here. You can open this file in Excel or another spreadsheet program to edit. The column names should stay exactly as they are in order for the system to match up the information. You may reorder the columns if you wish.
Please note that the firstname, lastname, contact_number and email fields all need to contain valid entries for the import to be successful.
Prefname indicates preferred name, which will replace the first name on printed nametags. Leave blank if none. The family field is the family ID, which can be any number. For the same family, use the same number. Leave blank for individuals. These do not need to be the same across imports, as we replace your number with a new id every import. The family relationship field is optional. If blank, the first person from each family will be designated as Primary. Otherwise, specify a person by writing ‘Primary’ into their relationship field. Capitalisation is necessary.
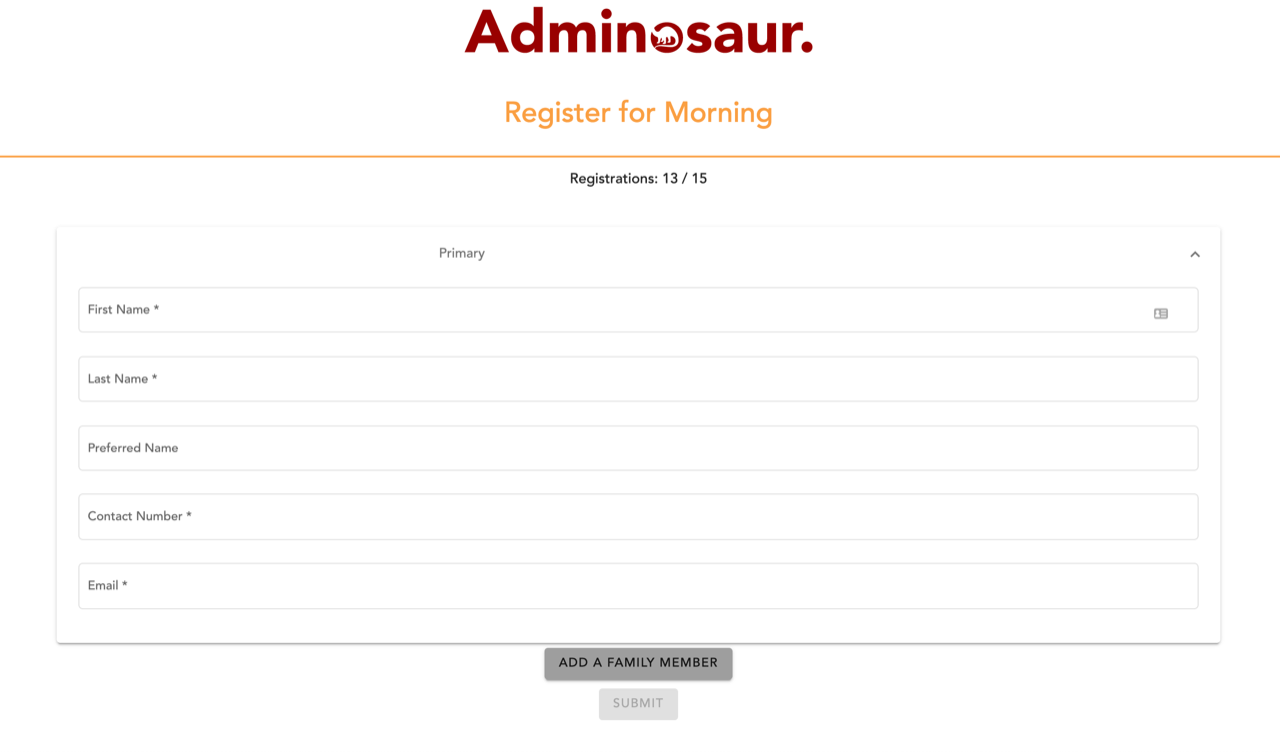
The registrant service’s registration form allows you to register every member of a family on a single form. The current number of registrations appears at the top of the form if you have set a limit for the number of people who can register.
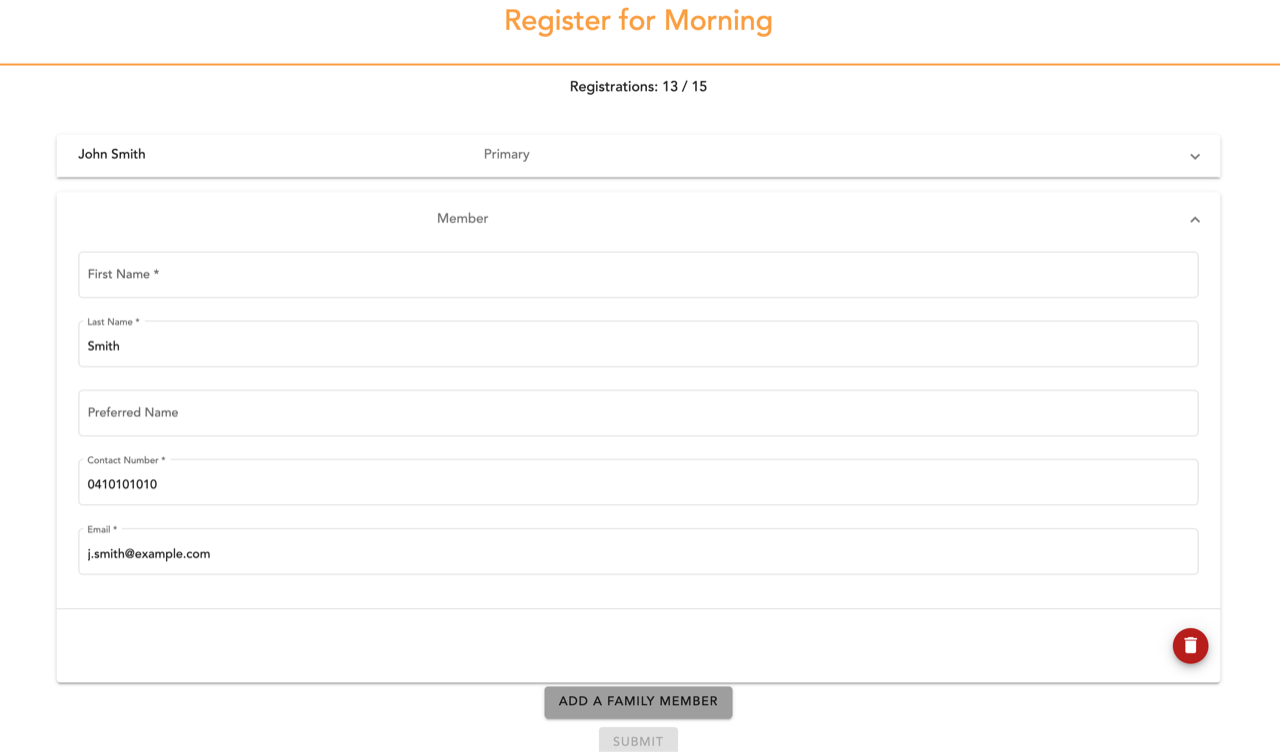
After filling in fields for the first family member (who is designated ‘Primary’ for the family), press Add Family Member to add another form section for an additional family member. The last name, contact number and email fields are copied from the primary member for ease of use.
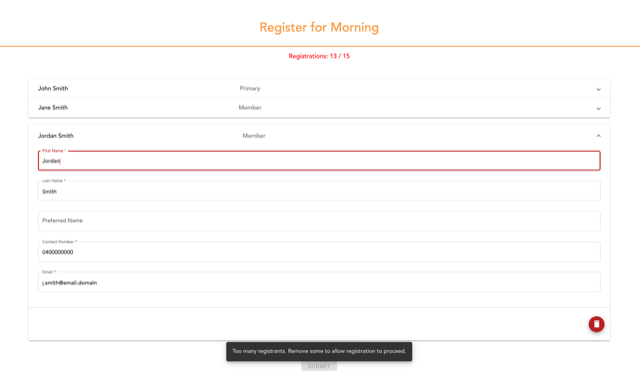
If the user tries to add more sections than there are registration spots, a message will be displayed indicating the limit has been exceeded.
Please note – the camera is only used for contact-less check-in in a Registrant service.
To view and change the camera you will need to have allowed Adminosaur access to the camera. For more information on how to do this see Camera Permission for Contactless Check-in. If the Camera view button doesn’t appear this may be the issue.
Once Adminosaur has permission to use the camera a small grey camera icon will appear on the left hand side of the window, level with the top of the name field. Clicking on this icon will open the camera view.
On devices with more than one camera a switch camera button will appear in the top left corner of the camera view. Please allow a couple of seconds for the camera to change.
If the switch camera button doesn’t appear or Adminosaur isn’t using the correct camera please make sure the camera is connected properly and refresh the page.
In some situations you may need or want to open one of the Adminosaur export files. These are .csv files, and should open in any spreadsheet program. If you need to do this, below are some notes that may aid you:
When opening the file, you may need to change some settings to ensure the cells and columns are correctly separated. Our files are separated by comma’s, and the string delimiters are quotation marks (“).
When opening the file, you will likely need to tell the program you are using that phone numbers are ‘text’ columns, otherwise the zeros in front of the phone numbers will be removed. Most spreadsheet programs will have a function to change this when opening the file, usually by selecting the relevant column and changing the type.
Make sure you save the file back as a .csv if you need to import this into a database.
For Contactless check-in to function you need to allow Adminosaur access to the camera on your device. You can do this by pressing allow when the webpage asks for camera access. If you have pressed block in the past there may be a small camera icon in the address bar that you can click on to allow access, once you do this you may need to refresh the page. The other way to allow access is to follow the guide for your browser below.
To use a registrant service you will need the ‘Nametags – Admin’ permission
This Guide assumes you have already have a registrant service. If you don’t have one please see Add a Registrant Service.
Go to “Nametags Settings-> Services, and click on the registrant service you want to use.
One of the first things you will need to do once you have created a registrant service is to set the number of people you want to be able to register for a service in the Maximum Registrants field. Putting a value of 0 in this field will remove the limit on the number of people who can register.
Now you are ready for people to start registering for the service. On the Service settings page press the “Registration Link” button to copy the link to the registration page. You can now paste the link into an email or any other distribution platform to send out to your congregation so that they can register themselves for the service. The “Registration Form” button will also take you to the registration form where you can register people for the service yourself. Learn more about this by visiting the Registration Form page.
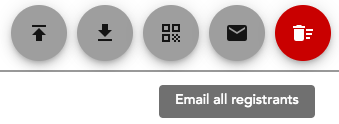
Once people start registering go to the “Manage Service” page by pressing the “Manage” button on the “Services Settings” page. This page will show everyone who has registered for the service and allow you to manage these registrations. The buttons to the right of each registration allow you to view the QR code for each person, resend the QR code email to a registrant and delete a registrant.
The red button above the list of registrants on the right hand side will delete all registrants from the service. This will not delete the records of who checked in to a specific service. You may choose to do this if you want new people to be able to register for a service that repeats each week with new registrants.
Once people have registered to attend the service they can scan their QR codes at a check-in device. If you want to print off name-tags for people when they check-in we recommend setting up a dedicated kiosk for this purpose. For more information on this please see Configure a Printing Kiosk or please Contact Us.
If you don’t want to print name-tags all you need is a device with a camera that is on the check-in page for the service. To scan the code simply point the camera at the QR code.
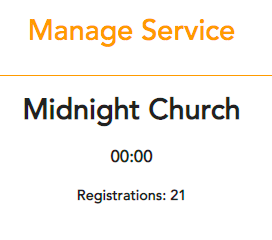
The Manage Service page shows a list of the people who have registered for the service including their contact details.
You will see the number of people who have registered for the service and the maximum number of people who can register.
For each registrant it allows you to:
View their QR code
Resend the QR code email
Remove their registration
You can press the remove all registrants button to allow a new set of people to register for a service. E.g for a service that repeats each week with new registrants.
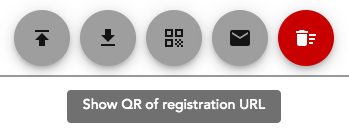
You can click the ‘Show QR of registration URL‘ button to download a QR code of the link to the registration form for that service.
You can print out this code with instructions for registering for that service on the spot. The user will be sent the registration email allowing them to contactless checkin straight away.
You can click the ‘Download all QRs as a PDF‘ button to download a PDF of all registrants QR codes, with their names attached.
This could be printed and cut up, allowing you to hand out QR codes to church members who may not have digital access to their email, or would like a physical copy.
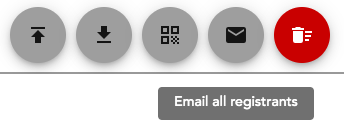
You can click ‘Email all Registrants‘ to send the QR code email to everyone who is currently registered for the service.
You could use this weekly to resend the QR code to people who registered for a repeating service, to make it easier for people to find the QR code in their emails.
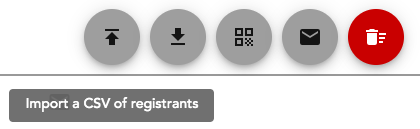
You can import people into a registrant service by clicking the ‘Import a CSV of Registrants‘ button.
The Import requires very strict formatting so please see Use the csv import in Manage Registrants for a guide on how to format the CSV and import people properly. When people are imported they are not automatically emailed their QR code, however you can press the ‘email all registrants‘ button to send the QR code to them.
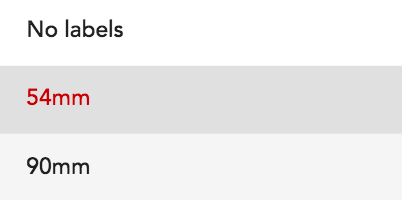
Go to “https://[SubDomain].adminosaur.com/admin“ replacing the subdomain for the one specific to your church. Go to the Nametags settings ‘Config‘ tab and set the width of the labels for the printer being used.
Select 54mm for Dymo 25mmx54mm (11352) labels and 90mm for Brother DK-11201 labels. Press Save.
Open up the check-in page so it is not in Kiosk Printing mode and try printing. If the print dialog doesn’t appear please contact us. If the print dialog does appear, but doesn’t print a nametag when you press print, follow the steps below.
Step 1: Is the label printer on and connected to the tablet? If no, turn on printer and connect it to the tablet. Try printing again. If it doesn’t print see Step 2.
Step 2: Are there labels in the printer? If no, replace the labels. Is the printer jammed? If yes clear the jam. If you needed to replace the labels or clear a jam try printing again, otherwise proceed to step 3.
Step 3: Go to Control panel, then Devices and Printers. Right-click the printer being used and select “Set as Default Printer”.
Step 4: Open up the check-in page so that it is not in kiosk mode. Try printing a nametag, making sure to select the label printer as the destination. If this works try printing in kiosk mode. If it doesn’t work see step 5
Step 5: Open the printer queue and check if there is a job waiting to be printed. If there is, recheck that the printer cable is properly connected to the printer.
Step 6: Download the correct printer driver for the printer. Make sure that you download the driver from the printer manufacturer’s website. Restart the tablet and try printing. If it doesn’t print, go through Step 3-5 again.