
There are a total of 4 ways you can check into a service
1. Regular / on-site checkin
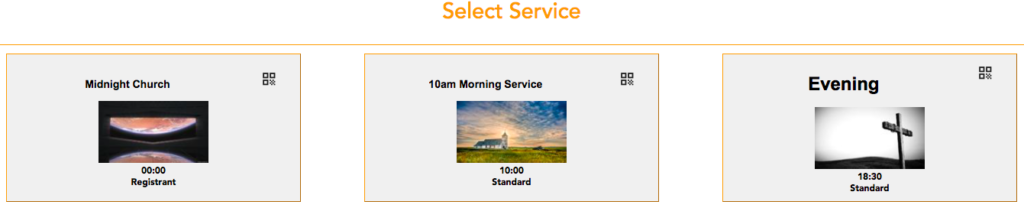
This checkin mode is accessed by selecting the service tile on the Select Service page. Label printing is available. Checkins will not redirect to any other page. This is enabled and working by default. More information on this is listed below
2. Online checkin
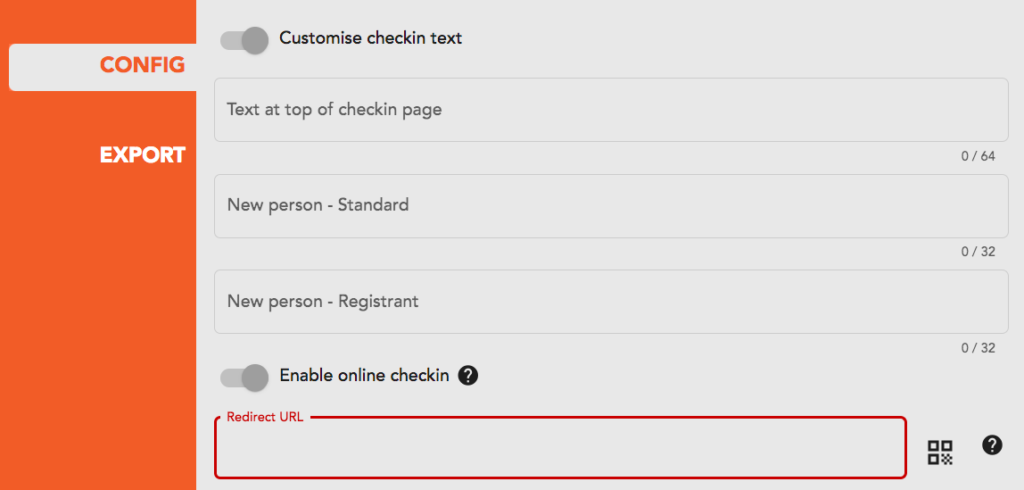
This checkin mode is used to access services which are conducted online, so church members can check in at home before watching the online service. Users will need to type their name into the checkin page as usual, and after a successful checkin they will be redirected to the Online Redirect URL you provide on the config tab, under the toggle ‘Enable online checkin.’.
On an individual service, you can overwrite the URL provided on the config tab by adding in a URL to the ‘Overwrite online redirect URL‘ field.

This checkin mode is intended to be shared via email, webpage etc for access to an online church service. In this mode label printing is disabled. The Link to this mode can be found in the services tab of Nametags Settings.
If you do not enter a Redirect URL, the checkin will not redirect after submission.
3. Self-service checkin.
This checkin mode allows users to scan a QR code displayed on a tablet, phone, etc when they walk into the church, which will take them straight to the Adminosaur checkin page. Users will need to type their name into the checkin page as usual, and after a successful checkin they will be redirected to the Self-service Redirect URL you provide on the config tab, under the toggle ‘Enable self-service checkin’.
Once you use the toggle ‘Enable self-service checkin’, a new Self-service QR code button will appear at the top of each service tile.
On an individual service, you can overwrite the URL provided on the config tab by adding in a URL to the ‘Overwrite self-service redirect URL’ field.
This checkin mode is designed to streamline the process for checking in to both adminosaur and a government app. You can use the government app URL (the government supplied QR-code) as the Redirect URL, and any concierge web-forms also provided as the Assisted Checkin URL. You can use the ‘QR Code Scan’ function in the settings page to scan your unique code and insert into the Adminosaur system. In this mode label printing is disabled. A link to this mode can be found in the services tab of Nametags Settings.
If you do not enter a Redirect URL, the checkin will not redirect after submission.
4. Assisted self-service checkin: This checkin mode is accessed by selecting the Assisted Checkin button on the Self-service QR code page. It is intended for concierge/assisted checkins, where an Adminosaur user helps check someone in who does not have a smartphone (or may not be able to use it well). Label printing is available. Checkins will redirect to the Assisted checkin URL shown above after a successful checkin.
If you do not enter a Redirect URL, the checkin will not redirect after submission.
Regular Checkin Guide:
To check a person in to a service you will need to go to the ‘Select a Service’ page. There are two ways to do this, the first is to select the Nametags tile on the Dashboard (you will need an account with ‘Nametags – All Services’ or ‘Nametags – Admin’ permission). The second is to navigate directly to “https://[yoursubdomain].adminosaur.com/nametags/service/select”. The second method does not require you to be signed into an account
Select the service you want to check people in to. If it does not exist, contact an admin and ask them to Add A Service.

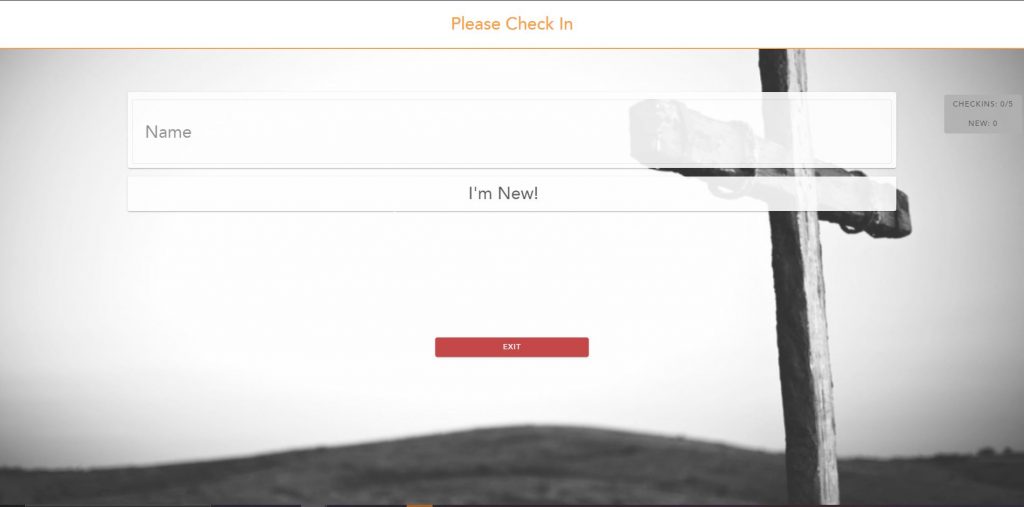
You will now see the Checkin page. Type the name of the person you want to check-in and select their name in the drop down list. A nametag will now print, or if the person is associated with a family, the family check-in list will appear. If the family list appears, select the family members you want to check-in, and then press ‘Print Nametag’.
If the person is new, select ‘I’m New’, fill out the form and press ‘Print Nametag’.
If nametag printing is disabled, the ‘Print Nametag’ button is replaced with a ‘Checkin’ button
If you are using a registrant service instead of typing in a person’s name you can scan their QR code to check them in. If the person is associated with a family you will still need to select the family members to checkin.
If you are signed into an account that has ‘Nametags – All Services’ or ‘Nametags – Admin’ permission, you will see a grey box to the right of the name field. For a standard service, this box shows you the total number of people relative to the counter limit (if set) and the number of new people who have checked in. For a registrant service it shows the total number of people relative to the registrant limit (if set) and shows how many of the people checked in registered and how many didn’t.
Clicking on the grey box will bring up a list of the people checked in listing them under the relevant headings shown in the box. Clicking on a name will show their contact details and allow you to undo their checkin. If for example they were checked in by accident.
For more information or help, please contact us.